The story of a rebuild of a Grumman AA1B and installation of a Chevrolet 262 Cu.In. V6 engine.
Read MoreThe littlest Grumman, the AA1A, B and C, all known as the "Yankee" started life as a trainer and sport aircraft designed by Jim Bede with the sole prototype being manufactured in 1962.
Read MoreBede sold the design on to American Aviation Corporation of Cleveland, Ohio in 1968 who made modifications to better suit the target market, the flight training sector. That sector was booming in the 1970s and over 1770 Grummans including 4-seat AA5 variants were sold.
Read MoreGrowing a Grumman - Part 6
2008-10-02
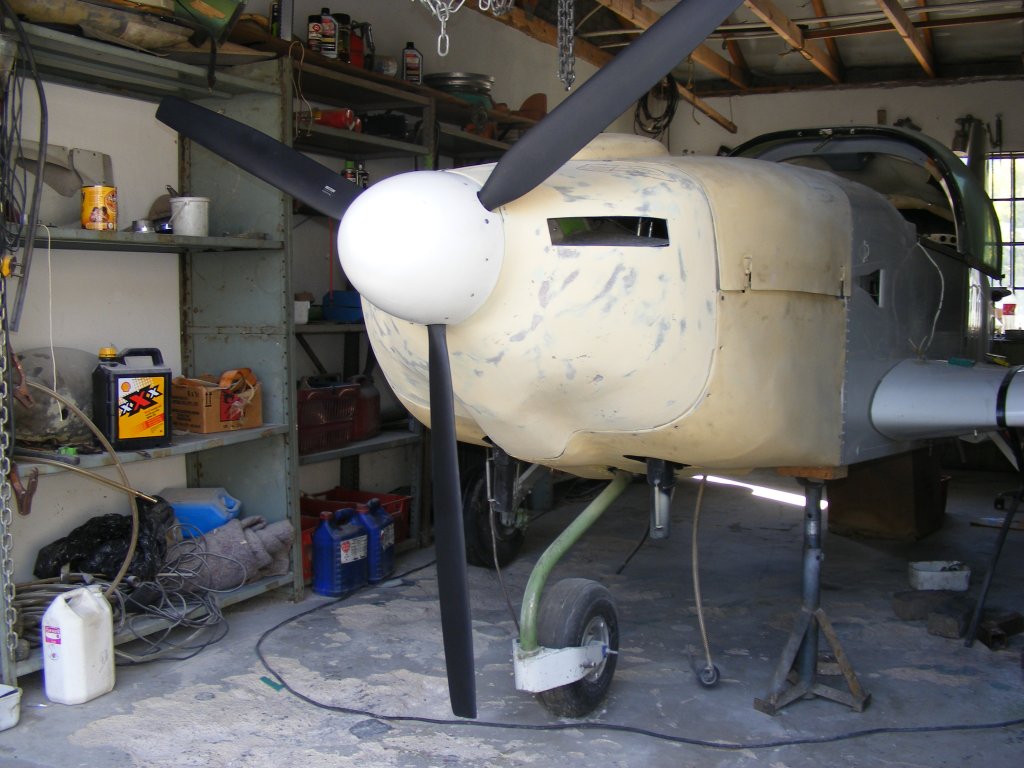
Okay - after lots of fibreglass work (ugh!) we managed to get the cowlings done, so everything fits inside and hopefully the baffles bringing air to the rear-mounted radiator will keep the engine cool. After pulling the aircraft outside onto the driveway and mounting the prop, I ran the motor for 10 - 15 minutes at low revs only. Seems okay, but this does not give any indication regarding actual cooling effectiveness. We will only begin to know about that once we can drive this puppy around an airfield.
The foam and glass method of building up a cowl shape is not one that I recommend. Firstly it is the most awful job, being very messy and itchy - the foam gets everywhere and the glass cloth likewise. Even using protective gloves, cap and mask etc, one's skin ends up itchy and irritated with this horrible stuff! If I knew a better way, I would tell you about it - but unless you are real good at shaping metal, this is it!
In addition no matter how carefully you sand the foam to acheive a smooth and even countour, it seems to end up far from smooth and even!
I guess the proper way would be to make a female mould first, rather than try and lay-up onto the plug - next time perhaps we will get it right!
Finally though, the day arrived when there was nothing else that could be done in my garage at home and the aircraft had to be moved to the airfield. I had organised a suitable hangar through a friend who had moved his Falco F8 to a different airfield, closer to his home, so the next task was to find a trailer. Not so easy, as the Grumman has an extremely wide landing gear. To cut a long story short I finally hired a towing and recovery truck, which proved ideal and made for a simple, effortless and safe move.
Next task is to get the tail group attached to the aircraft, reinstall the cowlings, put the wheels back where they belong and get the brakes to work. Once that is done I will begin taxi-trials without the wings attached in order to gauge engine performance,cooling and reliability etc.
--------------------------------------------------------------------------------------------------------------------------------More pics! Click the image for larger (1024x768) view - I have provided the large size images as I know you guys want to see DETAILS!